


Setting Up The Front Page
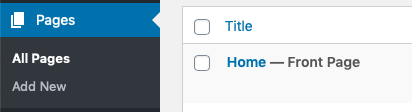
In the menu on the left hand size click on Pages then click on Home. As you can see below the front page should have Front Page written alongside.
The page will load and you’ll see the title ‘Home’. By default under that will be the message ‘Start writing or type / to choose a block’. On this page you can ignore that and scroll down. Just underneath is a section titled Home Banner.
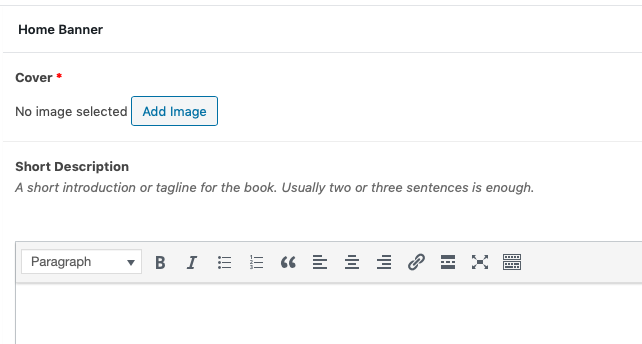
This section on the homepage is designed to showcase one of your books. Whichever book you want to feature click on Add Image then Select Files to browse your computer to find the cover. We recommend uploading as a JPG and over 750 pixels wide to get the best effect.
Once uploaded press Select in the bottom right corner of the screen. A small thumbnail of the cover you’ve uploaded will appear on the screen.
Under Short Description is a text editor. In here you’ll want to type the back cover copy of your book. We recommend keeping this as short as possible – six to ten sentences is normally more than enough but really, it’s up to you!
Once you’ve typed in your Short Description scroll down a little further to this dropdown menu:
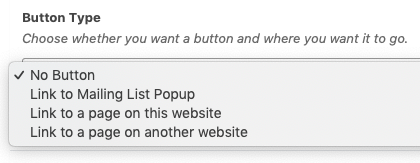
You may decide that you just want your featured book and blurb on the homepage and nothing else. In that case choose No Button and move on to the next section below called Mailing List Popup.
If your featured book is one you’re giving away as an incentive for readers to join your mailing list you’ll need to choose Link to Mailing List Popup.
If you choose that option a box will appear under the dropdown menu:
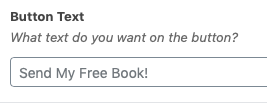
It couldn’t be easier, whatever text you want on the button should be typed into the box (we’ve even made a suggestion for you!). Once that’s done skip to the section below called Mailing List Popup.
If you want readers to click on the button and go to another page on your website (for example, the page for the book itself where they can read the first chapter) then select Link to a page on this website.
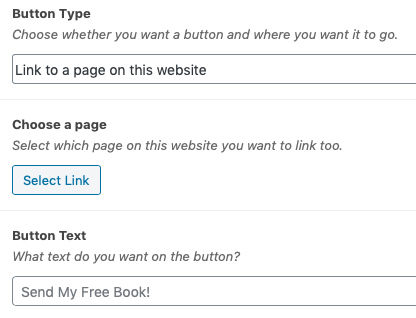
Once selected the appropriate boxes for your selection appear. To choose which page you want the button to link to click Select Link. A small window will popup where you can paste in the URL or, if you don’t know it or don’t know what a URL is, you can type in the Search box to find the page the your site you’re looking for. You can then click on the title of the page then click Add Link.
Lastly you can move on the Button Text. Type whatever text you want on the button into into the box (we’ve even made a suggestion for you!). Once that’s done skip to the section below called Mailing List Popup.
If you prefer to link the button to another website (for example Amazon or Audible) the select Link to a page from another website from the dropdown menu.
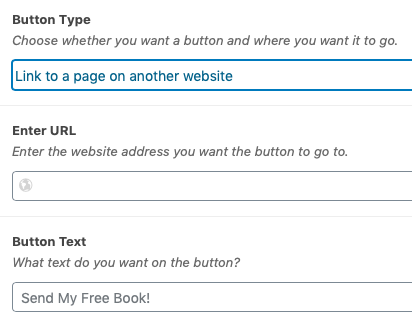
The boxes you need will automagically appear ready to be filled in. The first of these is Enter URL. The URL is just the website address you want the button to go so, if you don’t already have it to hand, open another browser window and locate the page on whichever website you want to link to, copy the website address and then paste it into the box.
Finally you can click in the Button Text. Type whatever text you want on the button into into the box (we’ve even made a suggestion for you!). Once that’s done skip to the section below called Mailing List Popup.
Mailing List Popup
If, in any of the previous sections, you’ve linked the button to the mailing list popup then this is essential. If you haven’t and don’t have a mailing list yet just move on to the Testimonial section below.
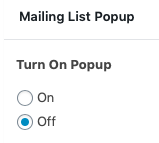
By default the mailing list popup is off but if you turn it on, four boxes relating to the popup will appear. The first two look like this:
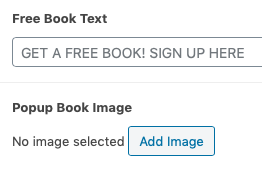
The first box relates to the text that appears at the very top of the website on every page when the Mailing List Popup is switched on. You can put whatever text you like in there but we’ve made a suggestion in case you can’t think of anything. If you’re not offering a free book, don’t worry, just type something like ‘SIGN UP TO BE THE FIRST TO HERE ABOUT MY NEW RELEASES’
The Popup Book Image will appear in the popup itself. Usually you’d put the cover of the free book you’re using as incentive then it makes sense to put this image here but, as we’ve said, you might not have one or want to do that. If you ignore this box and don’t upload anything, the website will automatically adjust the popup to look great without it!
If you do want a cover to appear click on Add Image then Select Files to browse your computer to find the cover. We recommend uploading as a JPG and over 750 pixels wide to get the best effect.
Once uploaded press Select in the bottom right corner of the screen. A small thumbnail of the cover you’ve uploaded will appear on the screen.
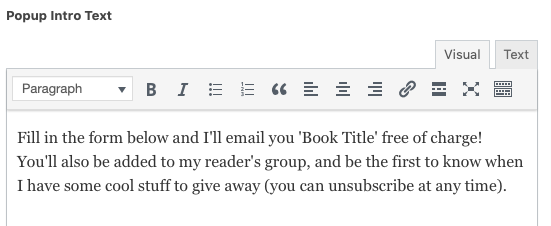
Next is the Popup Intro Text. This is the text that will appear in the Mailing List Popup. Again we’ve dropped some suggested text in there – if you use it, don’t forget to change ‘Book Title’ to the title of your book!
The final part of the Mailing List Popup is this:
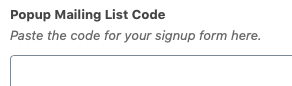
A big, empty box.
Depending on who you use for a your mailing list will depend on what you need to put in here. There are LOADS of mailing list providers (MailChimp, ConvertKit, MailerLite… the list goes on) and each one does things a little different. Most will give you some code for what they call their ‘Sign Up Form’ and will instruct you to copy / paste it onto your site.
This is where you paste that code!
If you’re not a programmer it will look like utter gibberish. But if you copy and paste it into this box then your sign up form should work like a dream.
Now I know what you’re thinking – are we nearly done with the homepage? Well yes. Yes we are. The last part is:
Adding a Testimonial
Under the main banner on your site is space for a testimonial. If a reader has stumbled across your site and is a little unsure of whether you are the author for them, this is your opportunity to tell them in no uncertain terms that you ARE!
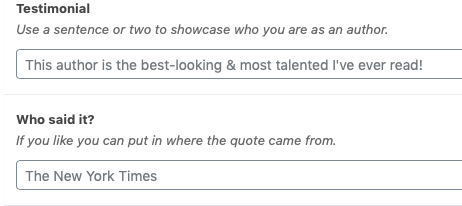
Two boxes, both alike in dignity… no, wait… that’s the beginning of Romeo and Juliet…
Two boxes. The first is for the quote itself. We’d recommend taking a sentence or two from your best review and using that. Don’t put in the quotation marks, the theme does that automatically.
The second box if for you to attribute the quote to someone. Some authors might be able to put ‘The New York Times’ in there but it’s just as valid to type ‘Amazon Reviewer’. If someone loved your book and took the time to say so then their opinion is just as valid as a mainstream journalist!
Once you’re done you’ll want to save the page and this is done by pressing the blue Update button in the top right hand corner of the screen. Now you might be wondering how you get your books to appear on the homepage?
That happens automatically but first you’ll need to add some books and you’ll find out how to do that in the next section.