


Customizing the Theme
And now we get to the part you were REALLY interested in. Making your author website match your personality.
In the left hand column click on Appearance and Customize.
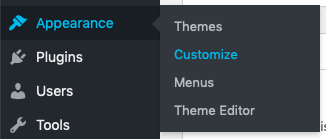
The WordPress theme customizer will load. On the right hand side you’ll see a preview of the website as it currently looks. On the left hand side you’ll see a selection of options you can use to change the look of the website.
Before you dive in…
Right now your website doesn’t have a menu. So let’s get that sorted out before we start changing the whole colorscheme.
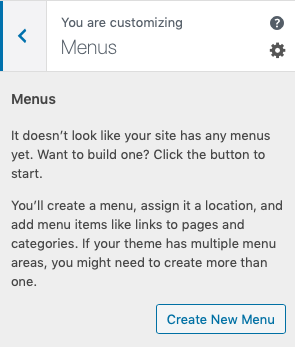
Click on Menus then Create New Menu.
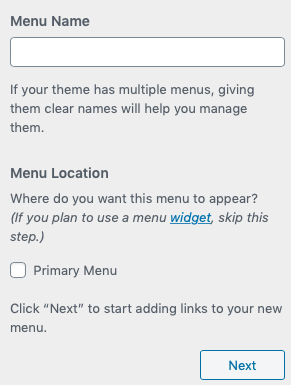
You can put whatever you want into the Menu Name since it’s not shown to visitors to the website. Check the box marked Primary Menu then click Next.

As you can see we’ve called the menu Main – the screen will change and invite you to Add Items. Click the button and a new panel will emerge listing all the pages on your website. You can add whichever pages you wish to the site, for illustrative purposes we’ll take you through our suggestions for what you should include. This should familiarise you with the menu system so you can add anything you want from there.
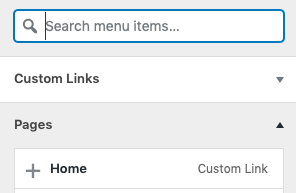
In the Pages section click on Home Custom Link. The link will be added to the Menu panel on the far left. If you’ve already created an ‘About’ page, click on that too. If you haven’t, don’t worry, you can add it later.
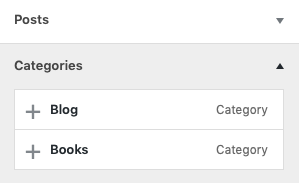
Next click on Categories then Books.

If you prefer to link directly to a book series rather than all your books then you can click on the Series section and click the name of the series you want to include in the menu.
Our full recommended menu for you site is:
- Home
- About Me
- Books
- All Books
- My Book Series
- My Second Book Series
- Blog
- Contact
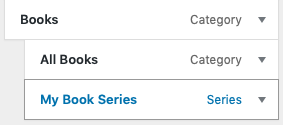
In the above example the book series are indented because they are a sub menu. You can create a sub menu by using the drag and drop mechanism. Once the menu items are selected you just need to hold down the left mouse button while the cursor is above the appropriate menu item and then drag it slightly to the right. If you’ve done it correctly it will display like this when you release the button:
More detailed information on customising menus can be found on the WordPress site itself.
Once you’ve added all the menu items you need, click on Publish at the top of the left hand panel.
Your menu will now be displayed in the Preview on the right hand side.
Genre Select
The easiest shortcut to get your site looking appropriate to the genre you write in is to use the Genre Select. If you click on it in the left hand column you’ll be presented with a dropdown menu looking like this:
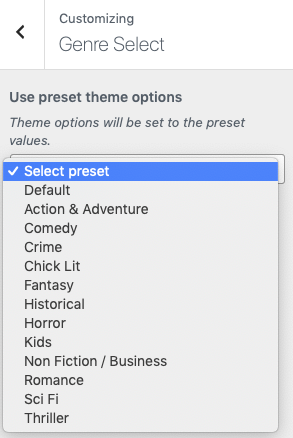
As you can see, we’ve created templates for the following genres:
- Default (which is a Detective/Mystery theme)
- Action & Adventure
- Comedy
- Crime
- Chick Lit
- Fantasy
- Historical
- Horror
- Kids
- Non Fiction / Business
- Romance
- Sci Fi
- and Thriller
If you select any of them from the list, the preview of your website will change to reflect your choice. Don’t worry – this isn’t changed to visitors to your website until you press the Publish button at the top of the left hand column.
While you can change all of the options individually, the Genre Select changes them all at once. Give it a try.
But wait… there’s more…
As much of a time-saver as the Genre Select is, we know that no two authors are alike. That’s why you aren’t stuck with our choices. You can then go through all of the options and tweak them to look exactly how you want them to look.
Let’s start with the Site Identity which is much less boring than it sounds. Click here to get started.